SquareFoot Concrete Footing Forms

Step by Step Instructions

Step 1

SquareFoot Concrete Footing Forms - Installation Instructions - Step 1

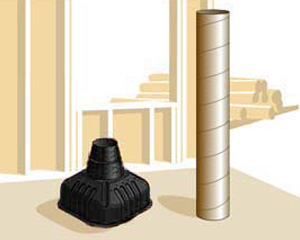
SquareFoot™ and construction tube.

Step 2

SquareFoot Concrete Footing Forms - Installation Instructions - Step 2

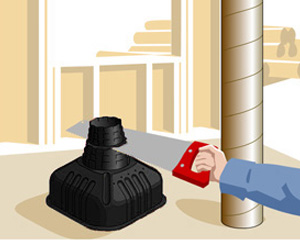
Cut off excess plastic at top of wedges to desired construction tube size.

Step 3

SquareFoot Concrete Footing Forms - Installation Instructions - Step 3

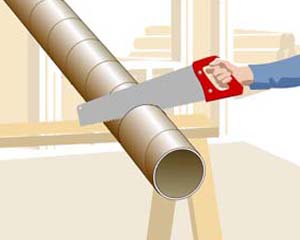
Saw construction tube to desired length.

Step 4

SquareFoot Concrete Footing Forms - Installation Instructions - Step 4

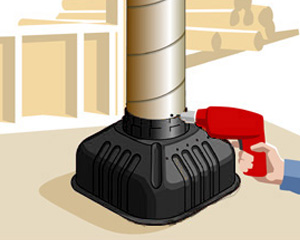
Attach construction tube to SquareFoot™ footing form with a minimum of 4, 1“(2.5cm)screws.
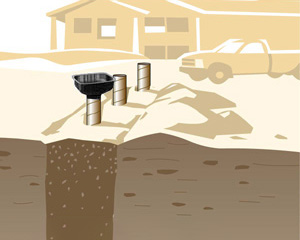
Step 5

SquareFoot Concrete Footing Forms - Installation Instructions - Step 5

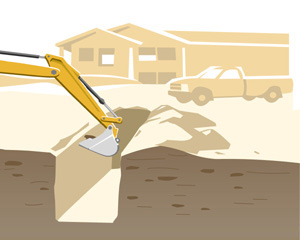
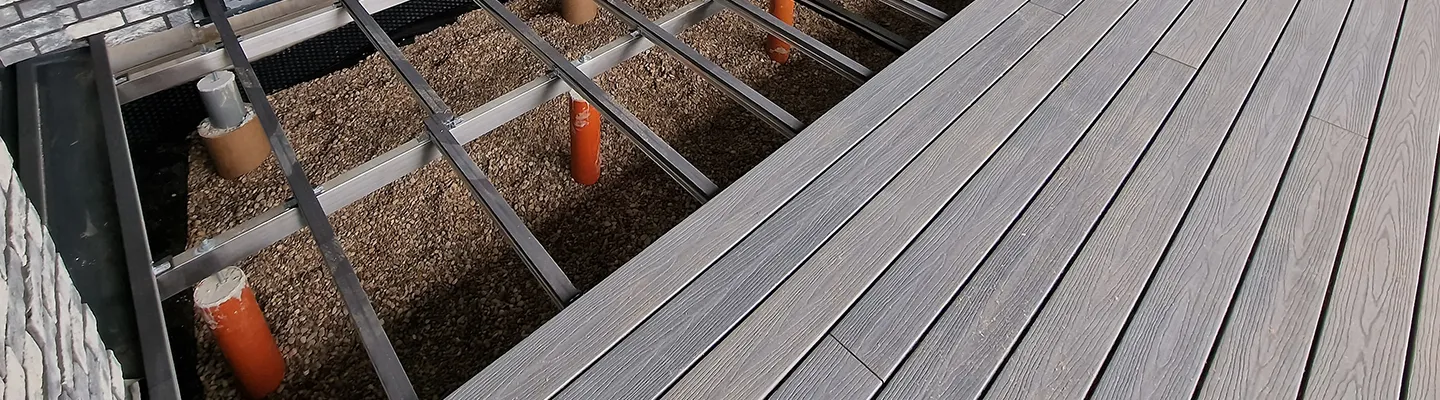
Excavate hole to a depth to avoid frost penetration under pier (Typically 5'(1.5m)).

Step 6

SquareFoot Concrete Footing Forms - Installation Instructions - Step 6

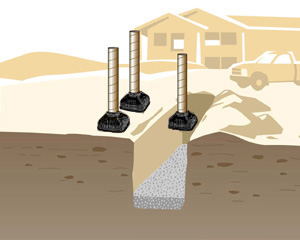
Place SquareFoot™ and construction tube on undisturbed soil or 4"-6"(10cm-15cm) of compacted crushed stone or gravel.

Step 7

SquareFoot Concrete Footing Forms - Installation Instructions - Step 7

Place SquareFoot™ footing form at desired location.
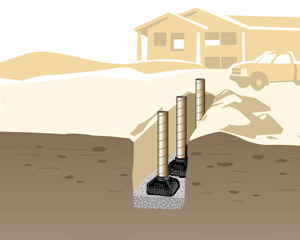
Step 8

SquareFoot Concrete Footing Forms - Installation Instructions - Step 8

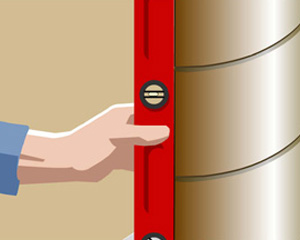
Level/plumb construction tube/SquareFoot™ footing form prior to backfilling.

Step 9

SquareFoot Concrete Footing Forms - Installation Instructions - Step 9

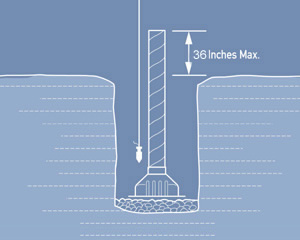
Construction tube and SquareFoot™ footing form combined cannot extend 36" (91cm) or more above ground line/grade without being braced.
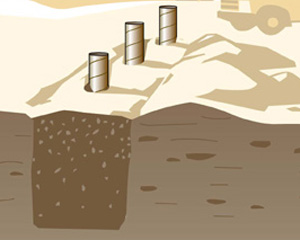
Step 10

SquareFoot Concrete Footing Forms - Installation Instructions - Step 10

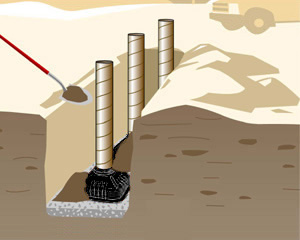
Backfill using shovel or backhoe.

Step 11

SquareFoot Concrete Footing Forms - Installation Instructions - Step 11

Backfill making sure construction tube remains level/plumbed at desired location.

Step 12

SquareFoot Concrete Footing Forms - Installation Instructions - Step 12

Invert spare SquareFoot™ on top of construction tube to act as a funnel prior to concrete pour.

Step 13

SquareFoot Concrete Footing Forms - Installation Instructions - Step 13

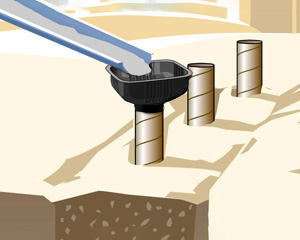
Pour concrete in the top of inverted SquareFoot™.

Step 14

SquareFoot Concrete Footing Forms - Installation Instructions - Step 14

Remove the funnel and spray SquareFoot™ off. Trowel concrete.

Step 15

SquareFoot Concrete Footing Forms - Installation Instructions - Step 15

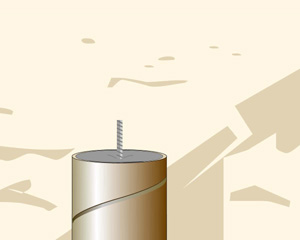
Install anchor bolt to accept bracket as required.

Technical Features

  • The small vent holes in the sloped sections allow the escape of air trapped inside the footing form when the footing is being poured with concrete.
  • The top rings of the SquareFoot™ footing forms are designed to accept various inside diameter construction tubes from various manufacturers for each footing form model. The rings not used must be cut off at the top of the ring being used and removed before any concrete is poured.
  • The bottom base flange is designed to fit flat on the excavated area and provides a location at the base where 3/8" (0.95cm) of 12 - 12" (30.50cm) steel spikes may be drilled on at a 45 degree inward angle. This will anchor the footing form in position for above ground use or when the unit has not been backfilled.

Additional Resources

Below Grade/Ground Installation Tips

Above Grade/Ground Installation Tips

Additional Resources